Create S3 Bucket and Upload Website Data to the Bucket
In this step, we will create an S3 bucket and upload the website data we wrote in step 2.5 to the bucket for website hosting.
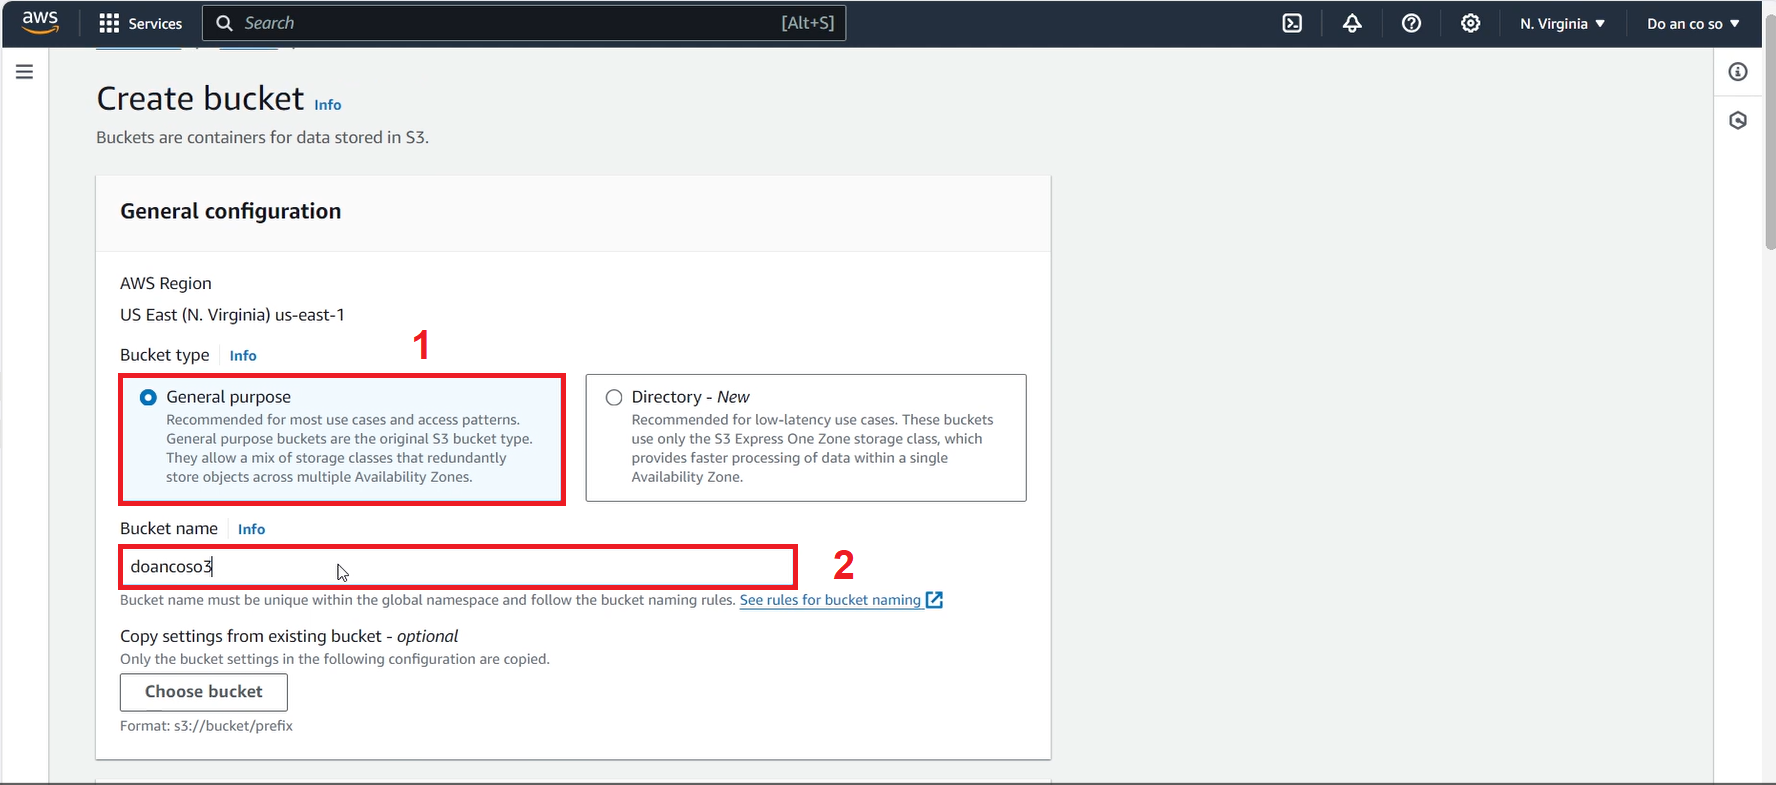
- Access the S3 service, find the Buckets section, and select Create bucket.

- In the Create Bucket interface, name your bucket as desired, but the bucket name must be unique within your region, then click Create bucket.
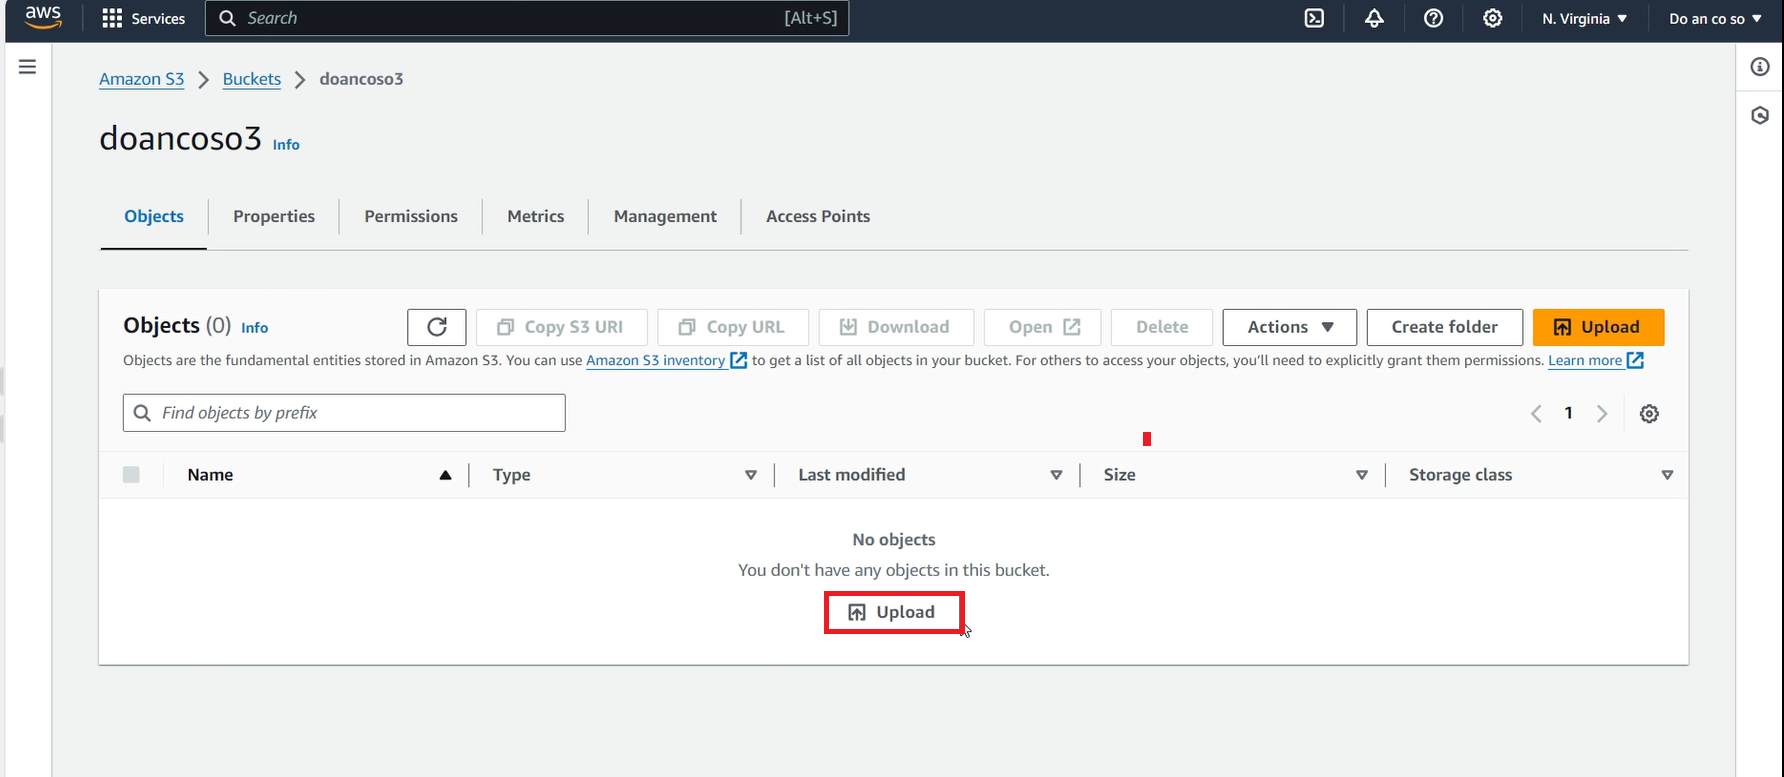
- Access the bucket you just created, and select Upload.
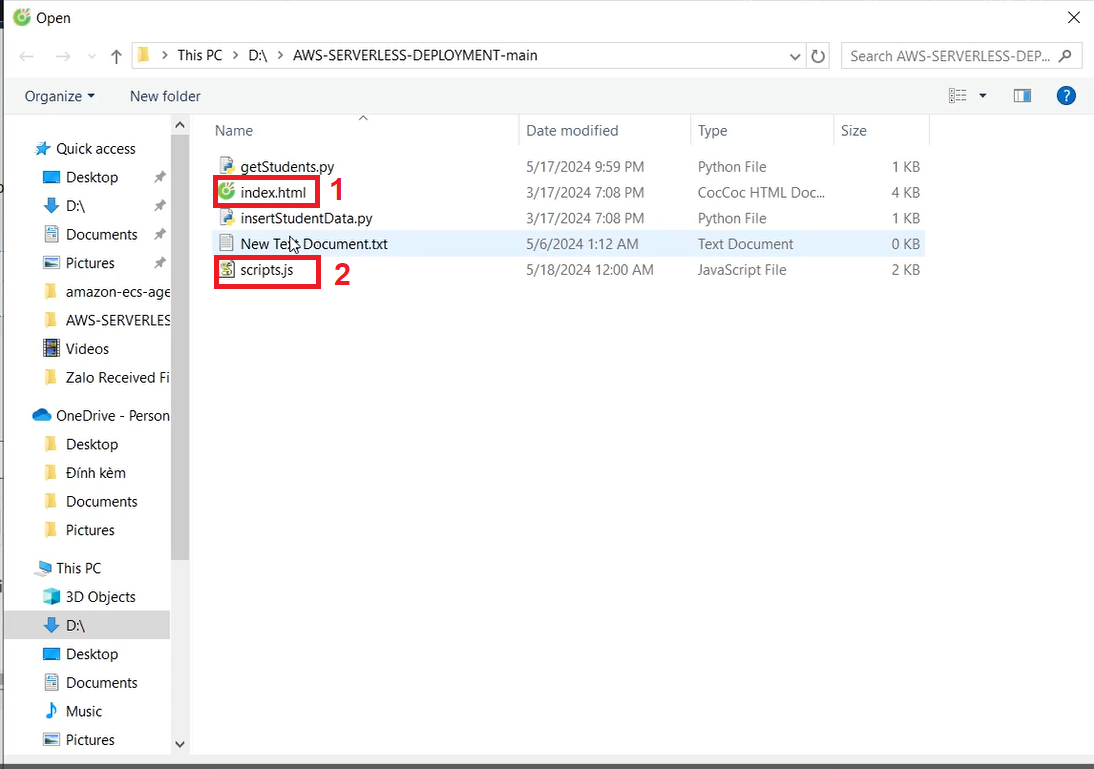
In the Upload interface, click Add files.
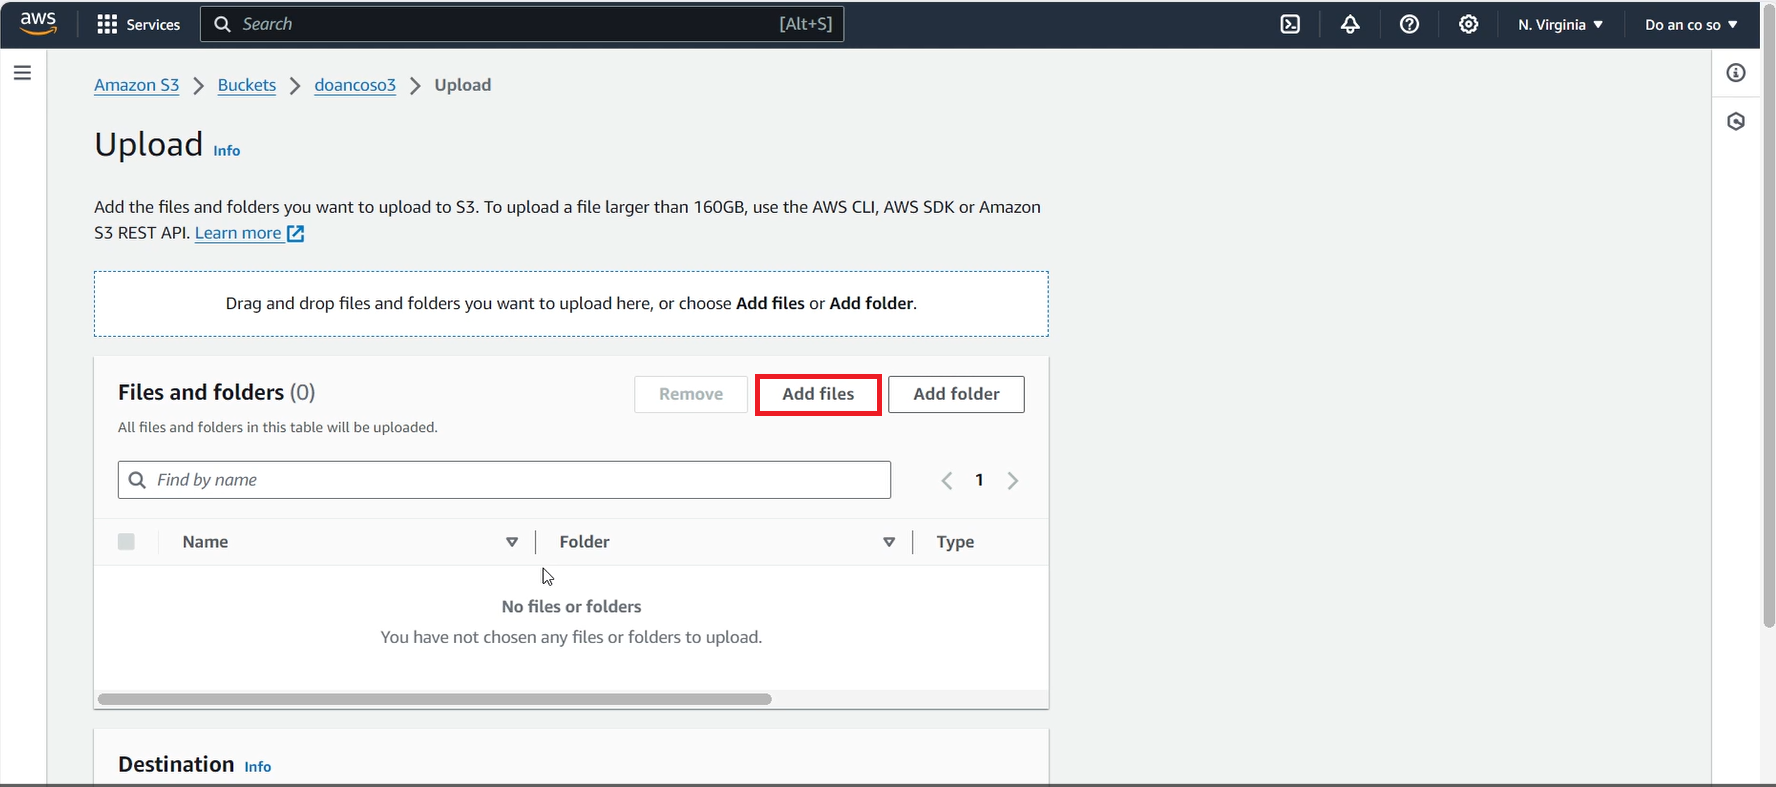
Upload the two web resource files that you created in step 2.5.
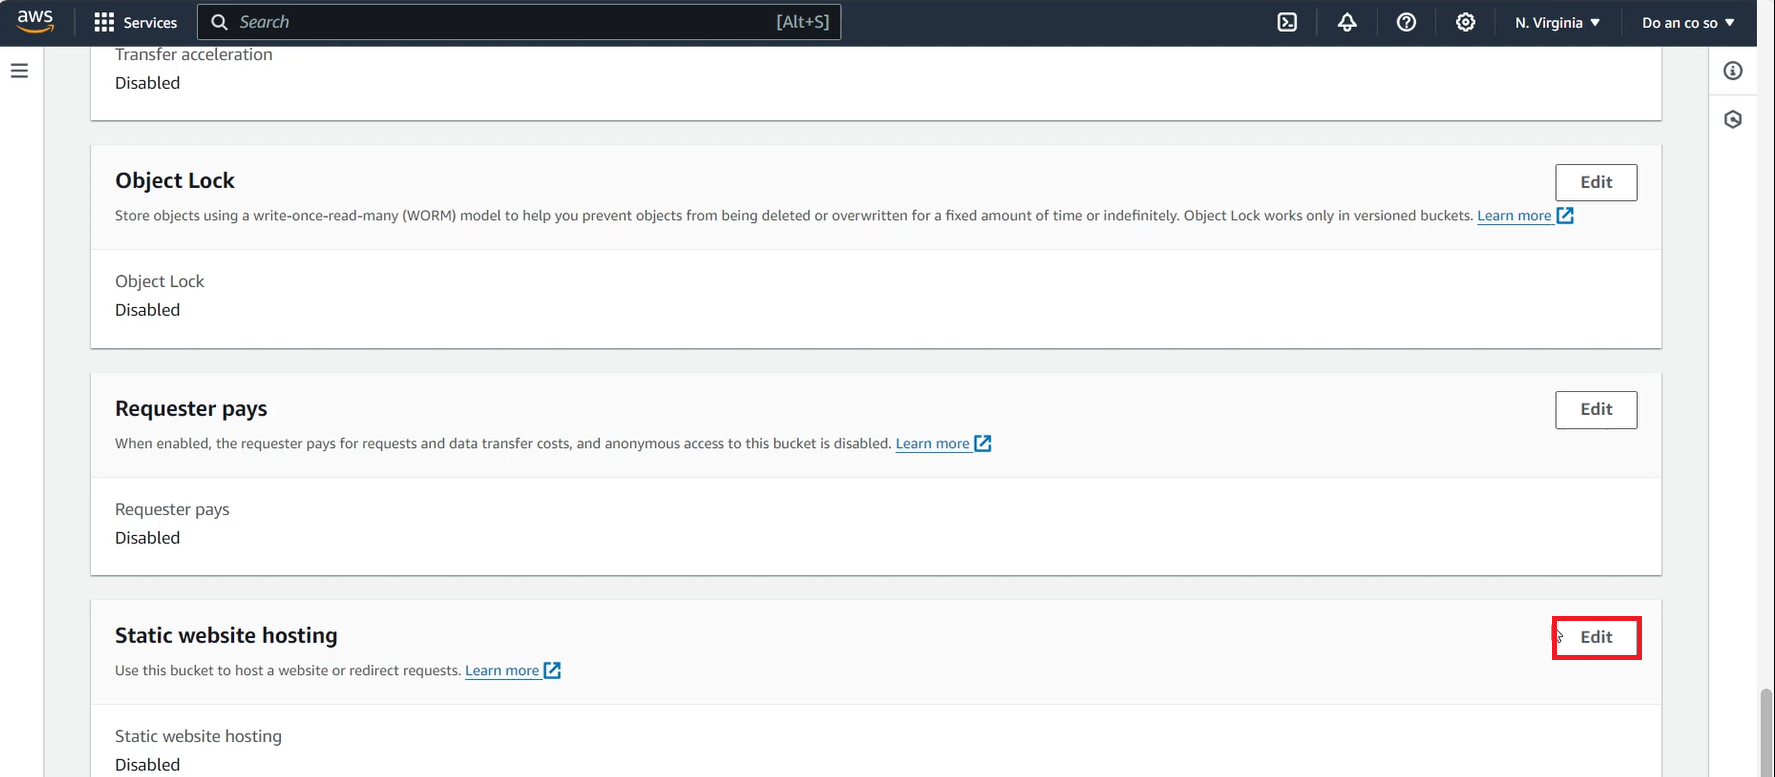
- In the same bucket, switch to the Properties tab, scroll down to find Static website hosting, and click Edit.
- In the Edit interface, under Static website hosting, select Enable. For Index Document, enter index.html, and finally click Save.

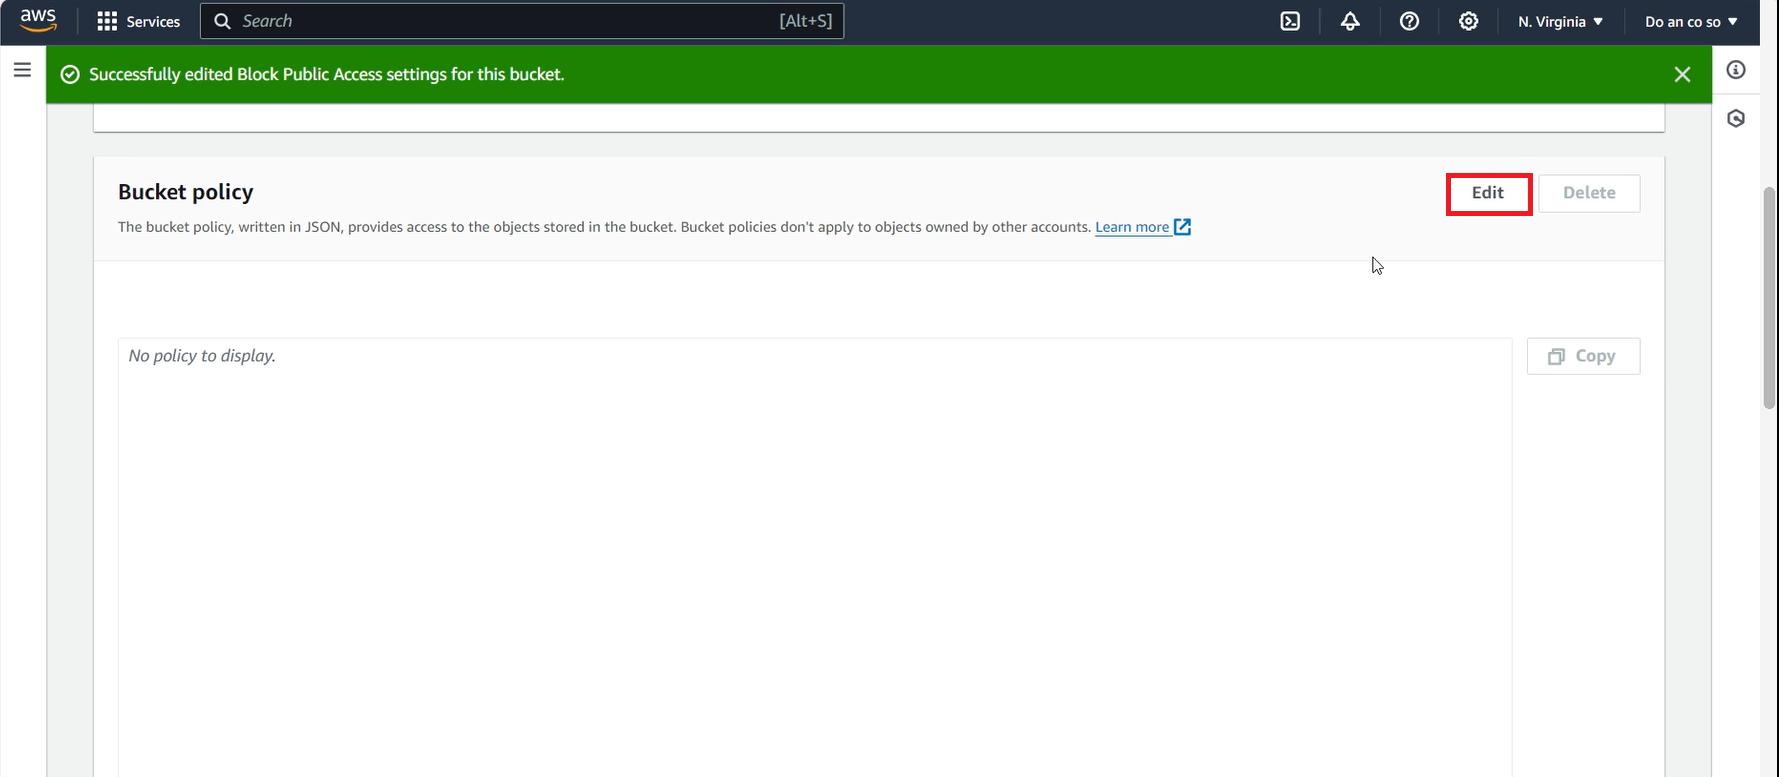
- Switch to the Permissions tab, find the Bucket policy section, and select Edit.
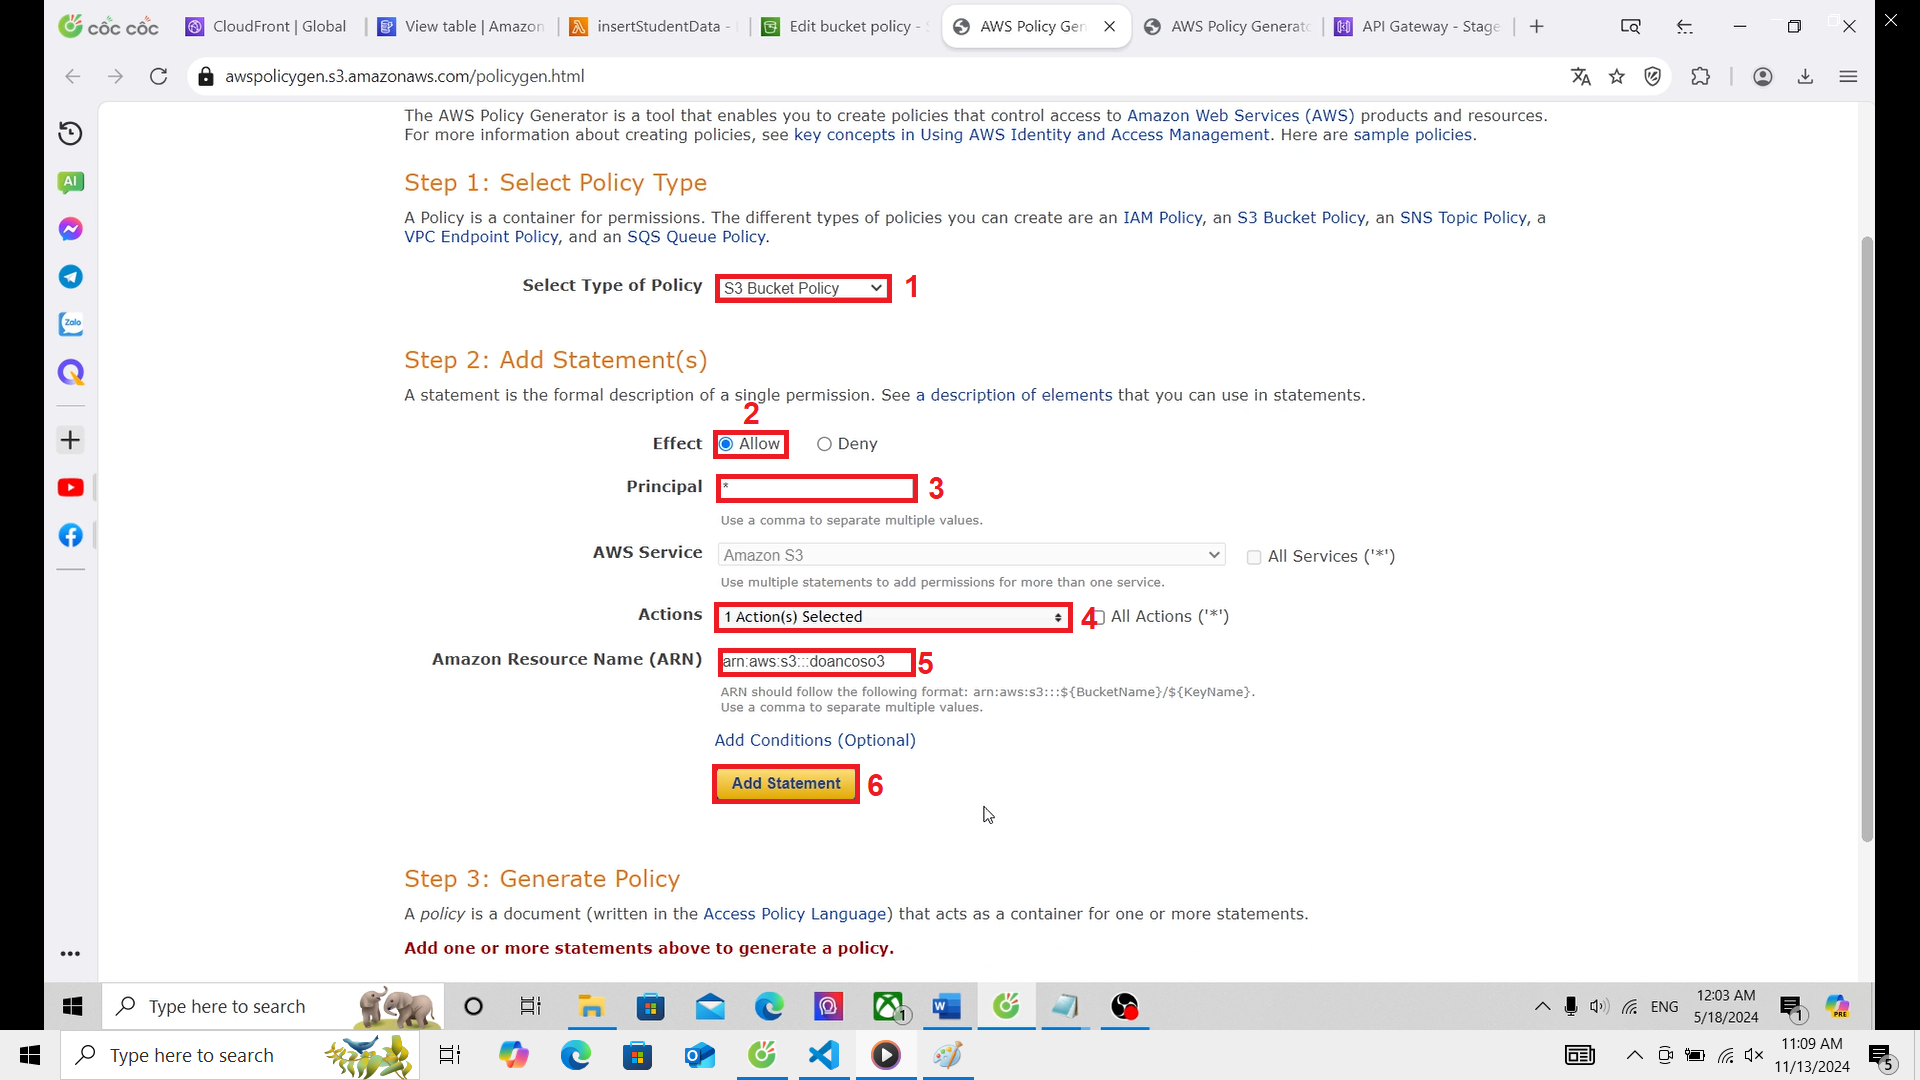
Select Policy generator.
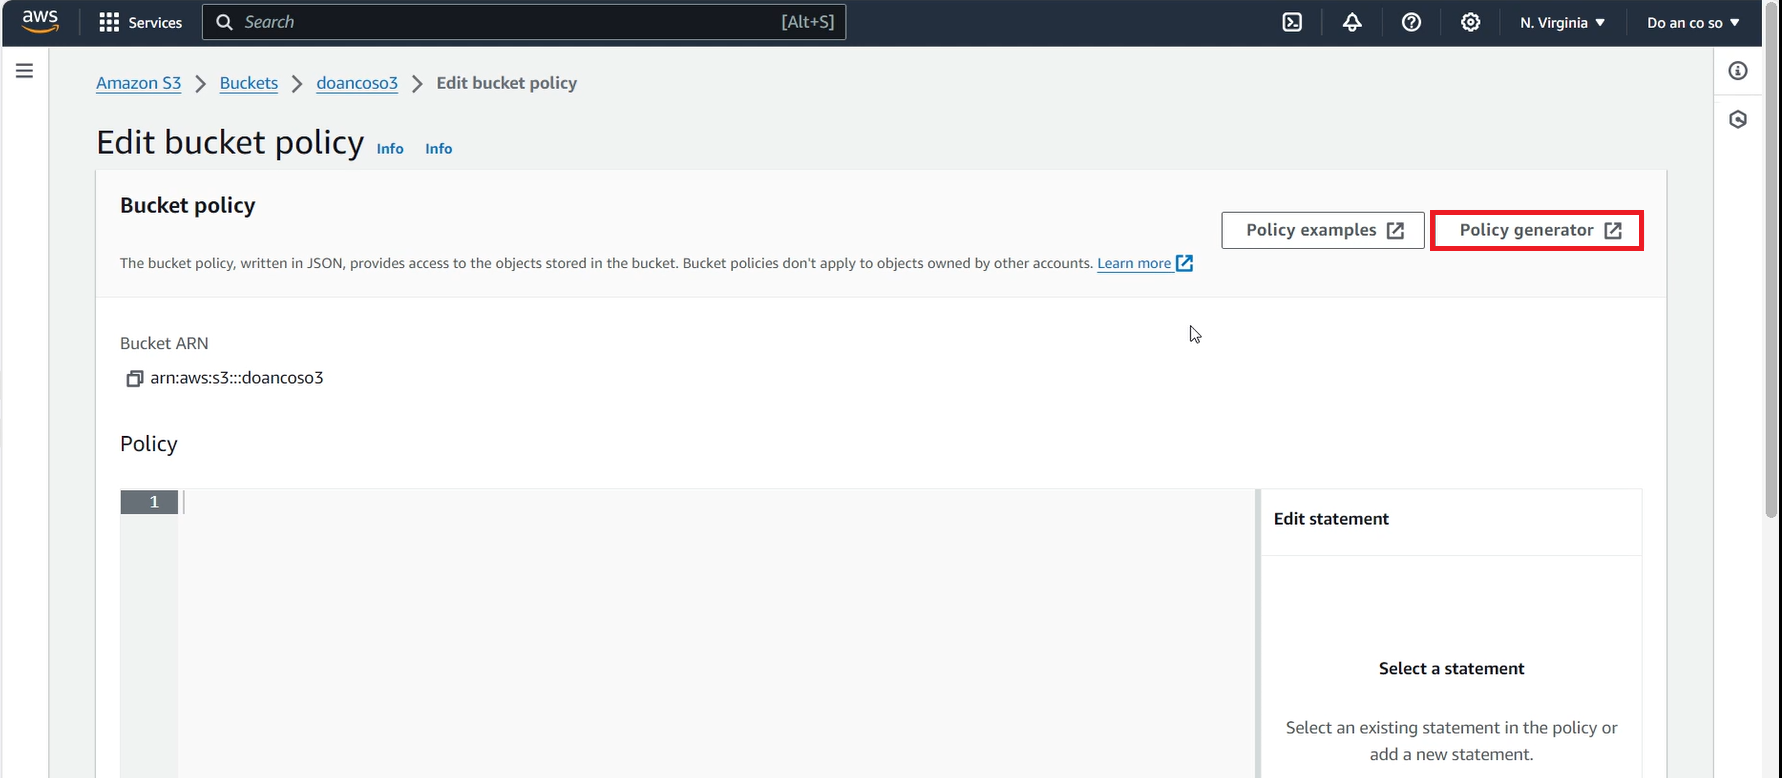
In the Select Type of Policy section, choose S3 Bucket Policy, set Effect to Allow, enter * for Principal as shown in the image, and for Actions, select GetObject() from the list. For ARN, enter the ARN of the bucket you created, then click Add Statement, and finally scroll down and click Generate Policy.
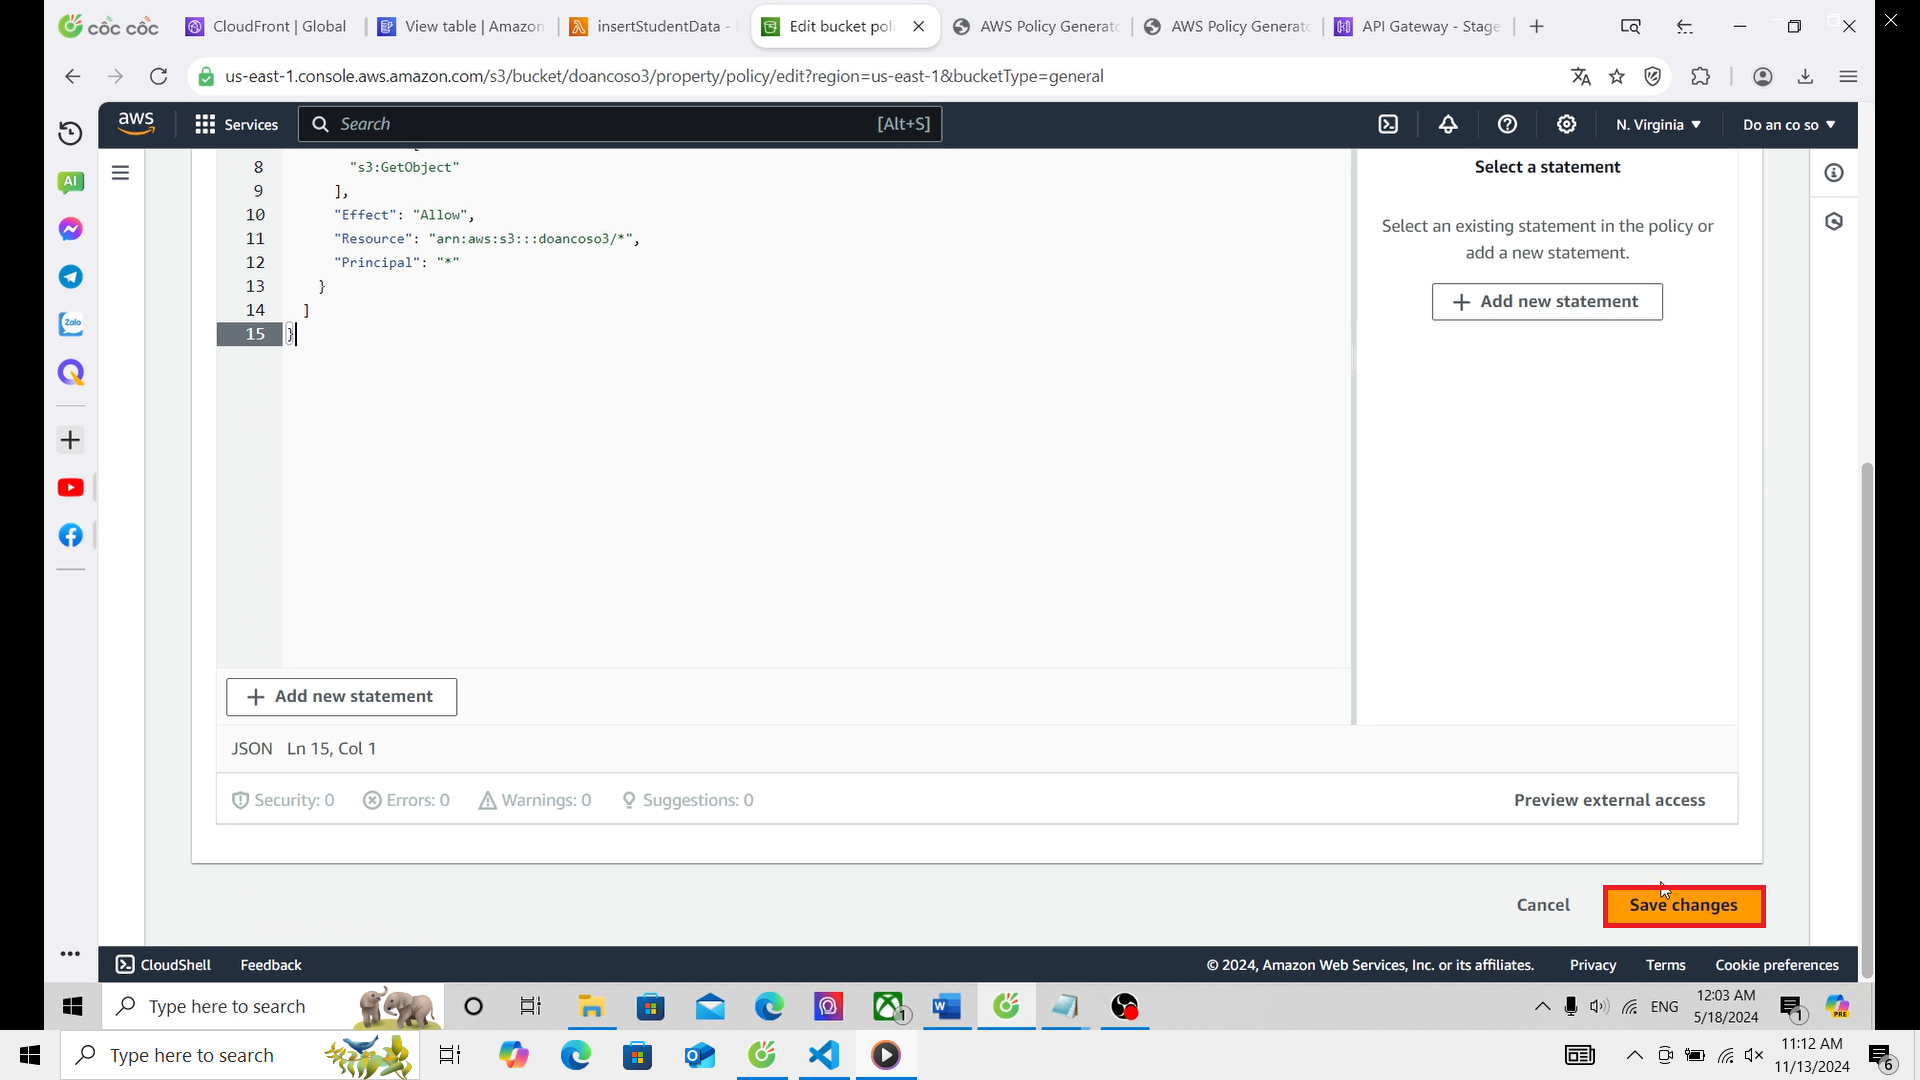
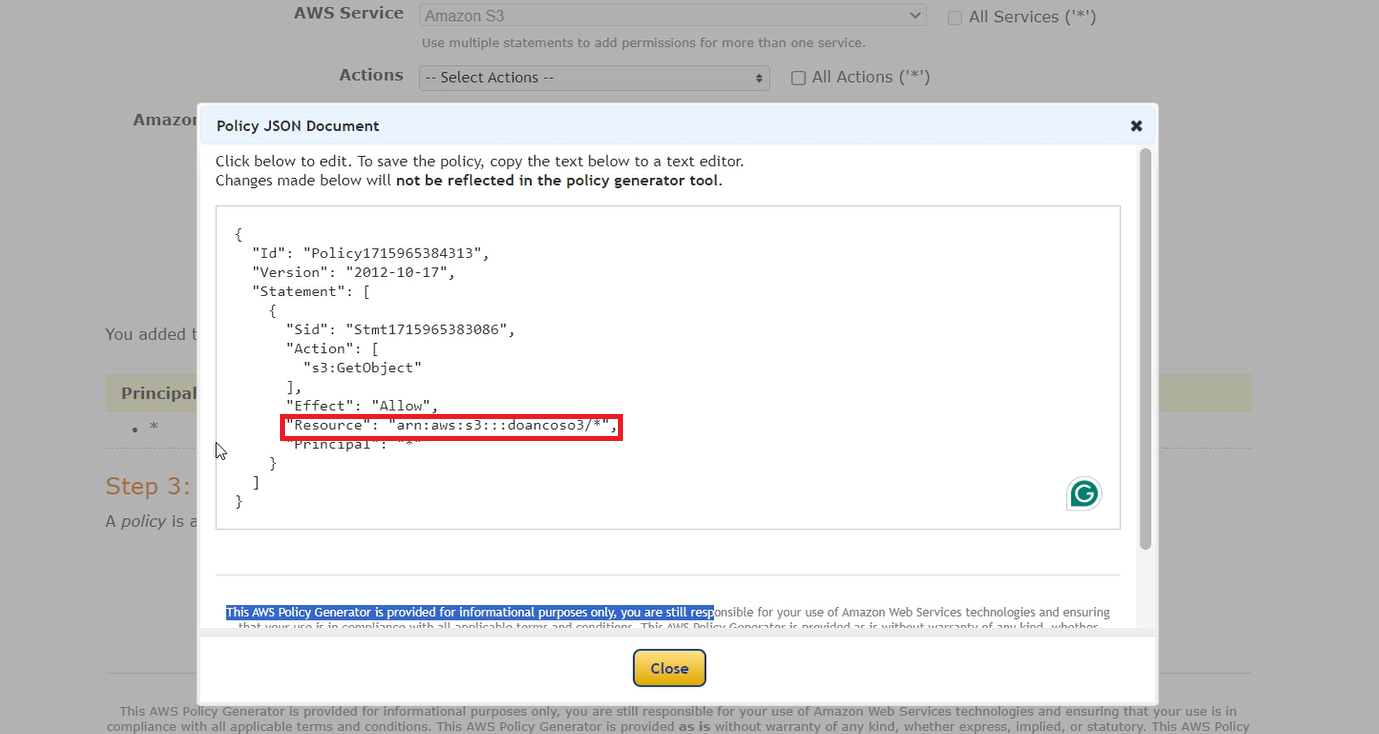
- After clicking Generate Policy, you will receive a Policy JSON Document. Edit the line I highlighted by adding
/*as shown in the image (the code after adding it), and then copy the policy.
- Return to the Edit interface of the Bucket Policy, paste the copied policy into the box, and click Save Changes.